Sell digital goods
Content: - How it works - Prerequisites - Create the File field - Dropbox - Google Picker
Now sellers can upload files to their ads from Dropbox or Google Picker and sell them. With this feature it’s possible to sell digital goods in your website.
How it works
- Seller uploads a file from Dropbox or Google Picker while posting his ad.
- Buyer clicks the Buy Now button and buys the product.
- The confirmation email is sent to the buyer, which includes the Order ID, Product ID and the link to download the uploaded file.
Prerequisites
- Dropbox or Google Picker app is created and configured.
- Buyer instructions custom field is created.
- Seller fills the “Buyer instructions” custom field while posting the ad.
- File download custom field is created.
- Seller selects the file while posting the ad.
Create the File field
- Create a Custom Field by logging in to your Admin Panel -> Configure -> Settings -> Custom Fields -> New.
- The custom field Name must be file_download and Type must be File Dropbox or File Google Drive.
- The custom field values are comma separated allowed file extensions.
- Now you need to configure one of the methods described below.
Dropbox
- Create a new app on the [Dropbox Platform].(https://www.dropbox.com/developers/apps/create)
- While you create the app, add your website URL to Chooser/Saver domains.
- Copy the App key from your app and paste it in your website panel, Configure -> Integrations -> Dropbox -> App key.
If this feature is properly configured, the result should be this:

Google Picker
- Go to [Google Developers Console].(https://console.developers.google.com/)
Press My Projects -> Create Project.

Choose Credentials on the left sidebar and click Create Credentials -> API key.

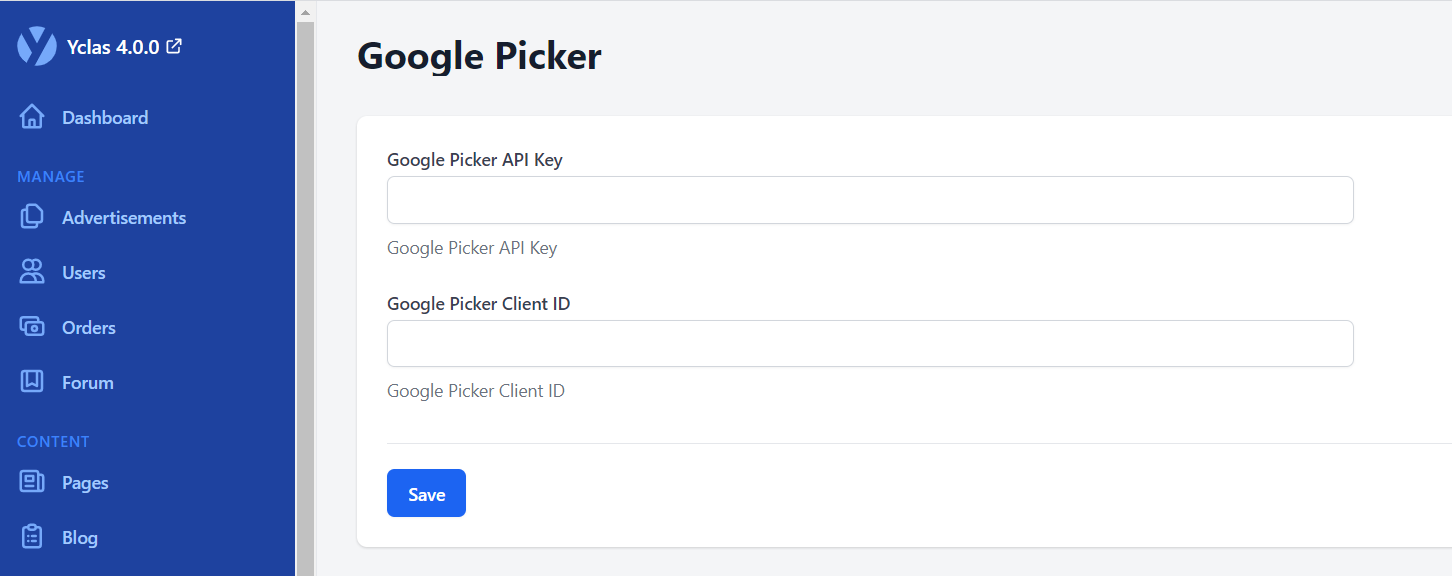
Copy your API key and paste it to your website Admin Panel -> Configure -> Integrations -> Google Picker -> Google Picker API Key .
Choose Credentials on the left sidebar and click Create Credentials -> OAuth Client ID.
Click Configure consent screen.
Choose your Email address, enter the Product name, Privacy Policy URL and click Save.

The next step requires to create the client ID. Choose Application Type - Web Application, enter your website name into the Name field, your website URL into the field Authorized JavaScript origins and press Create.


Copy the Client ID and paste it to your website Admin Panel -> Configure -> Integrations -> Google Picker -> Google Picker Client ID and click Save.
Go to Libary, find and enable Google Picker API.


Done. You can now go to the Publish new page to see the result.

This feature is available on all sites hosted at Yclas.com