How to Import Users
It’s much easier to import users instead of inserting them one by one.
How to use it
Create a CSV file in utf8 with header (lower case): name email password image_1
name: Name for user. email: Email address of user. password: Password of the user. Can be left empty and the system will generate a random password. subscriber: 0 or 1 values. 1 if the user is subscribed to receive notification emails; o if not.
Images:
We allow to upload user profile images. Images allow remote images like http://lorempixel.com/1200/800/people/ or local, using as base your site root, for example /images/import/user1_pic1.png. The images will be downloaded, resized, thumbed, and deleted on completion. image_1
Custom Fields:
Now it’s possible to import users with custom fields. All you need to do is to add the fields in the CSV file as headers, with the prefix cf_. For example, if you have a custom field called “company” in your site, you need to include it in the CSV file headers as “cf_company”.
You can use this easy import tool to add all of your users with a press of a button. You simply need to follow those steps:
- Log into your Admin Panel.
- Go to Tools > Import Users.
- Click Choose File to select your CVS file and then press Upload.
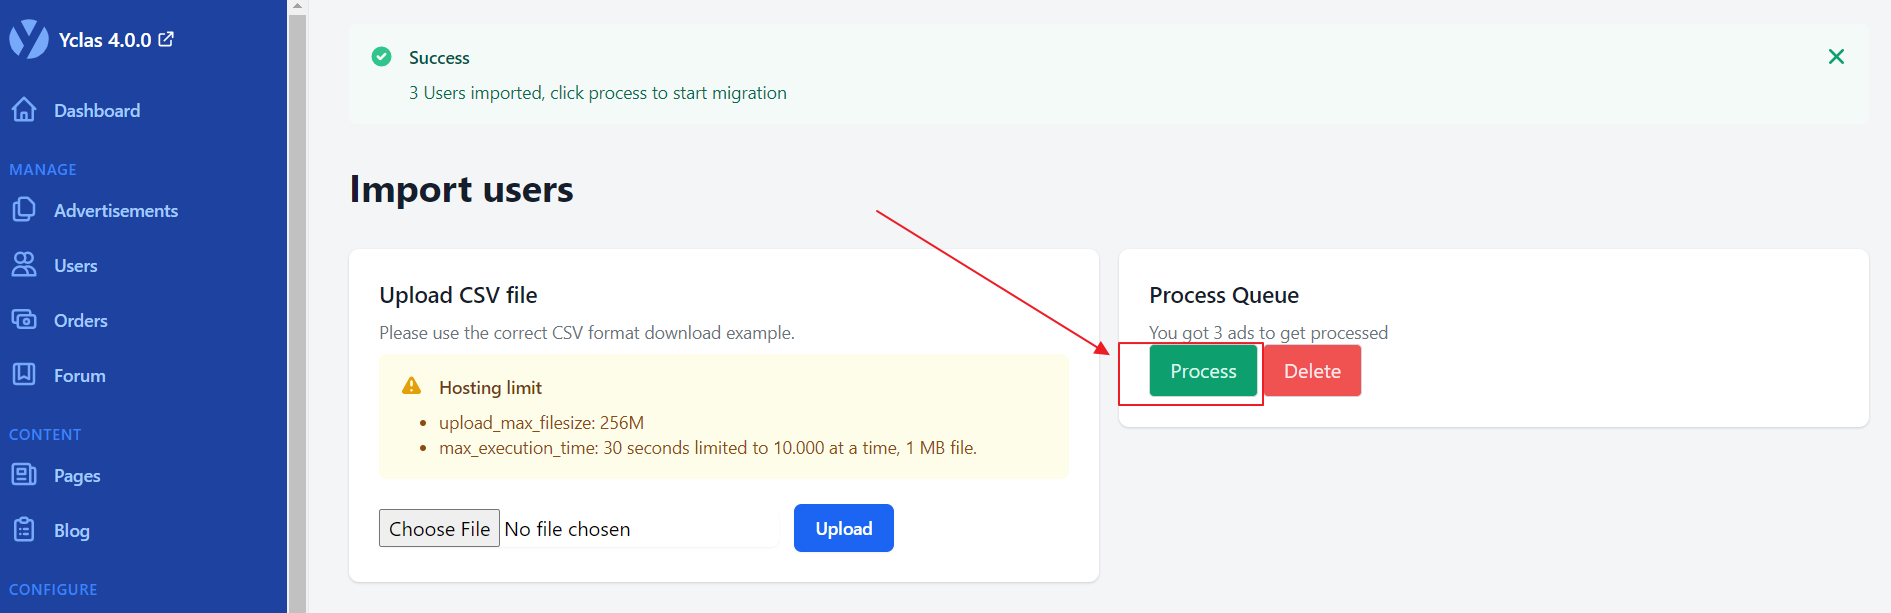
- Click on Process in the right box, named "Process Queue".
Now, you can see the imported users on Manage -> Users.