How to add locations?
- Introduction
- Geonames
- Quick Creator
- Manual method
- Import Locations
- How to add sub-locations
- How to manage locations
- Locations widget
Locations makes it possible to segregate ads by place or city. Thanks to this users can narrow their search ads within their geographical territory.
Warning: We do not recommend adding more than 1000 locations if you use shared hosting. Otherwise, your website will work very slow.*
How to add locations
Geonames
Steps:
- Login to your Admin Panel.
- Choose Settings -> Locations.
- Select Import Geonames Locations.
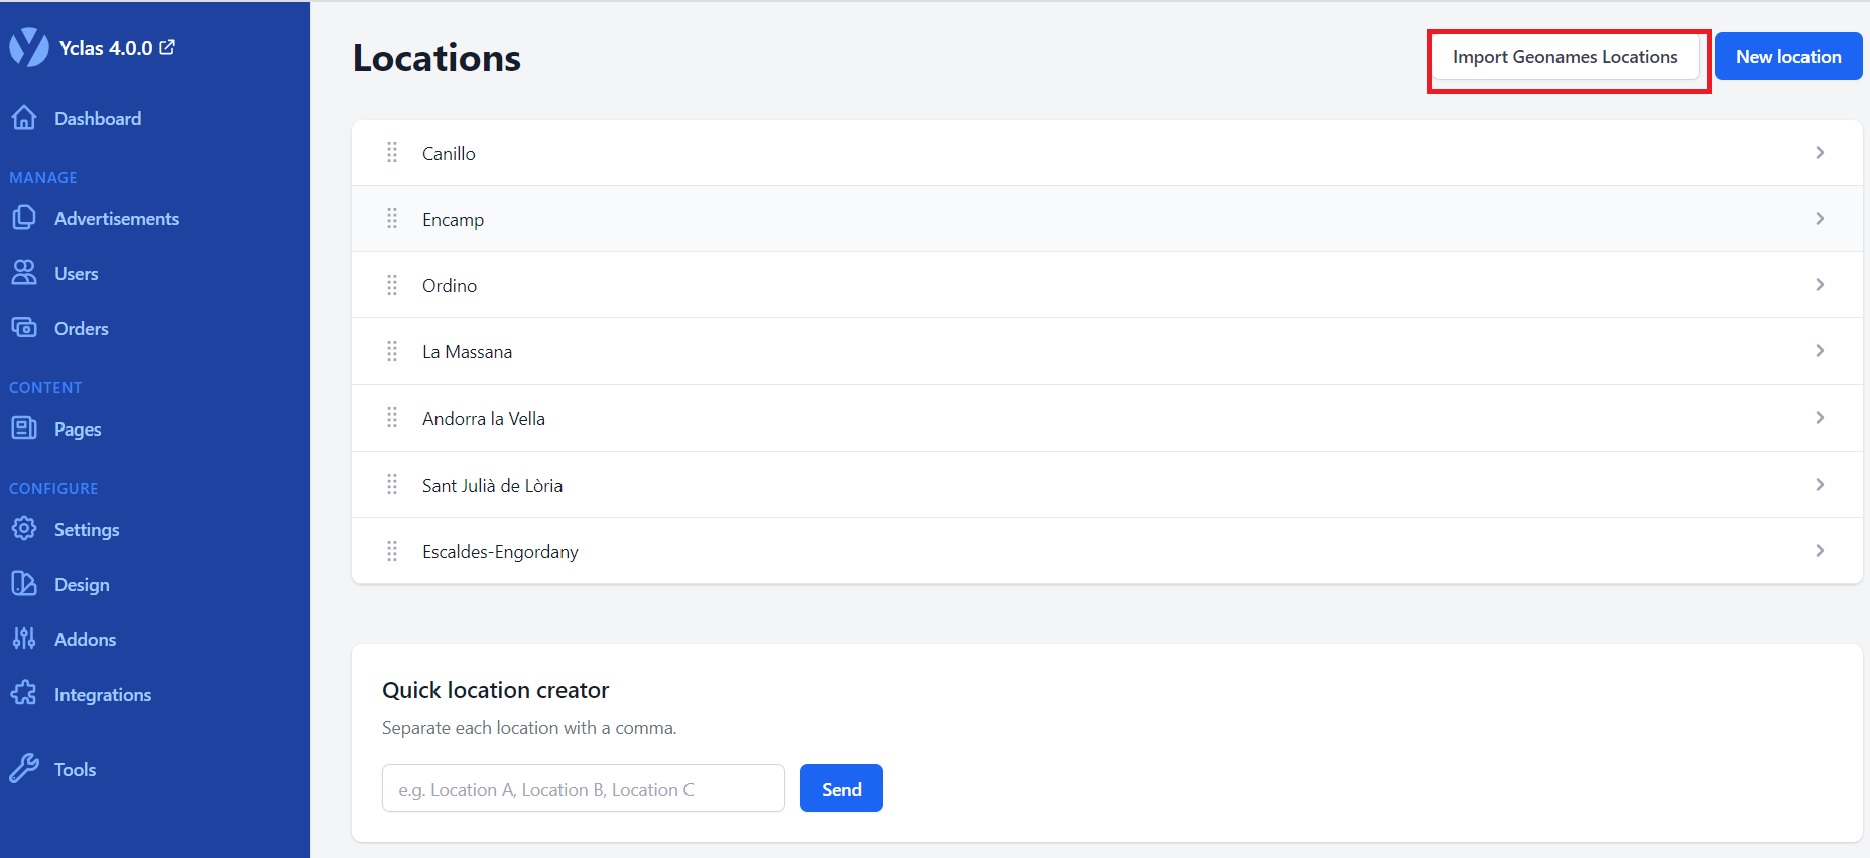

This is probably the easiest and fastest way to add multiple locations. You have to do choose a location (Continent, Country, State/Province, County/Region or City) and click Import to import its sub-locations. For example, if you choose: Continent = Europe Country = Spain State/Province = Catalonia and then click Import, it will add Barcelona, Girona, Lleidia and Tarragona to your locations.
Then, you can add the sub-locations of a location. If you have added Barcelona in your locations, click Browse on the right of this location. Then choose: Continent = Europe Country = Spain State/Province = Catalonia County/Region = Barcelona and click “Import” to add all the sub-locations of Barcelona.
Geolocations import doesn't work?
If you are trying to import geolocations but you can see just empty dropdown menus, you need to review your SSL certificate configuration.
For websites hosted on Yclas, you have to login in your Cloudflare account, press the Crypto tab and disable Always use HTTPS.
If you using Yclas Self-Hosted, please make sure you follow the instructions of this guide
Quick Creator
At the quick location creator, add the name of the location, hit enter on your keyboard and when you have done, click the ‘Send’ button as explained in the following screenshot.
Manual method
- Login to your Admin Panel -> Classifieds > Locations on the left sidebar.
- Press ‘New location’ button.
- Fill in the fields:
Name-> Choose a name for the location that will be displayed, eg. city or city quarter. Basically, this field is the most important, the rest is kind of optional.
Parent-> Choose under one of the existing main locations, where the new location will be displayed. Choosing the Home Location while make it the main location. Locations can be easily moved to other parent locations.
Seoname-> A seoname will be auto-generated based on the name, but you can change it if you want it to be different.
- Description-> You can add a few words about the place.
It’s possible to add manually the Latitude and Longitude of the location or enter the name of the location and find latitude & longitude automatically.
- Click SUBMIT.
After submitting, you should get a message same as below.
“Success. Location created”
Continue creating new locations if necessary and remember to delete cache after finishing to see the changes. You can delete the cache by going to Extra > Tools > Cache and press the button Delete all in your Admin Panel.
New locations now will be available to choose in Publish New Advertisement form and visible in Locations widget.
Import Locations
You can also add locations by importing them. Use this example file to create yours and simply import locations into your website. For more information, follow this guide.
How to add sub-locations
With our 2.4.0 release you can add sub-locations fast and easy. All you have to do is to click Browse next a location to insert sub-locations in that location.
How to manage locations
Login to your Admin Panel -> Panel, -> Settings -> Locations.
Managing them is very easy. If you want to move locations and change their order you just need to drag and drop selected one to the chosen place.
You can click the Edit button to change the locations description.
To delete, simply click the button with trash bin.
Note that when you delete parent locations inside of it, it will be moved to level up - to the parent of the deleted location.
Locations widget
The location widget gives you additional options. You can activate them by logging in to your Admin Panel -> Design -> Widgets -> User location -> CREATE. Choose a name to the widget’s title and select if you want to display it in a sidebar or in the footer. You can also keep it Inactive. Thanks to this widget, navigation among locations is easier. A list of them will be displayed at all times at the side or at the bottom of the page
Related posts: